Installation Root: How to Root Google Pixel with KernelSU Next and Wild Kernel
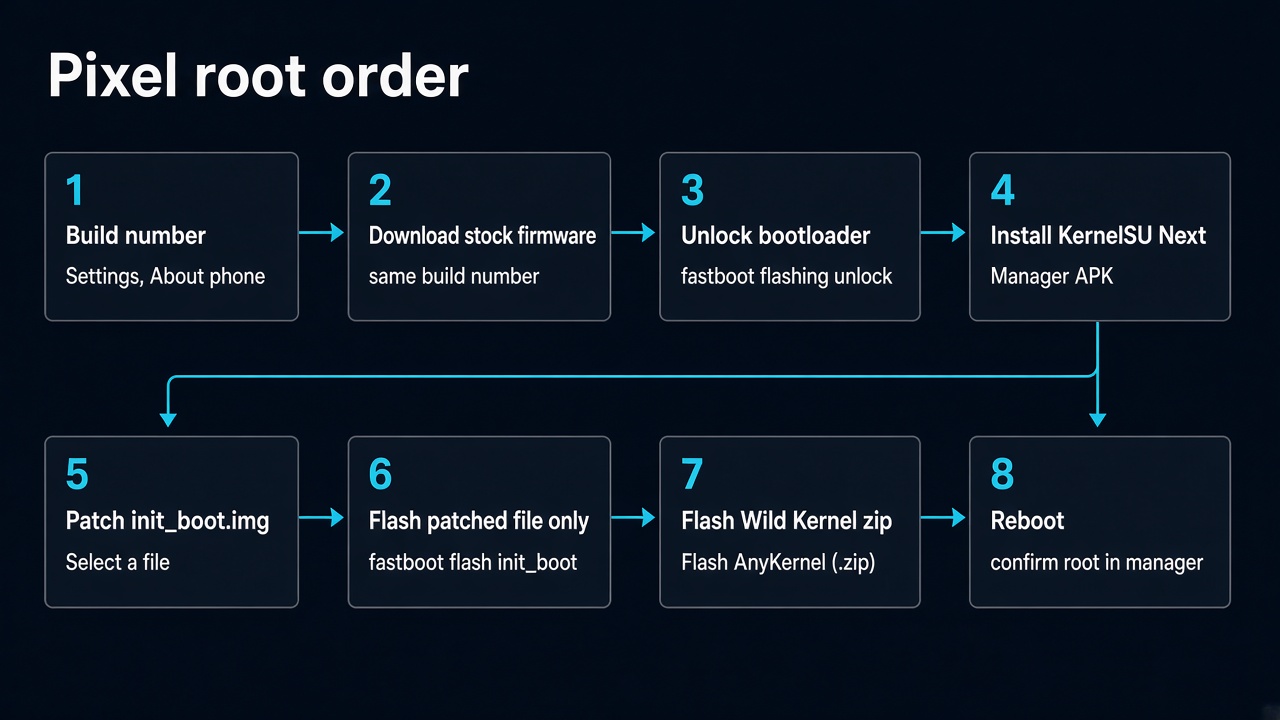
Root a Google Pixel with KernelSU Next, then install a Wild Kernel. Unlock the bootloader, patch the stock init_boot image, flash only that patched file, and install the Wild Kernel zip.
Order
Before You Start
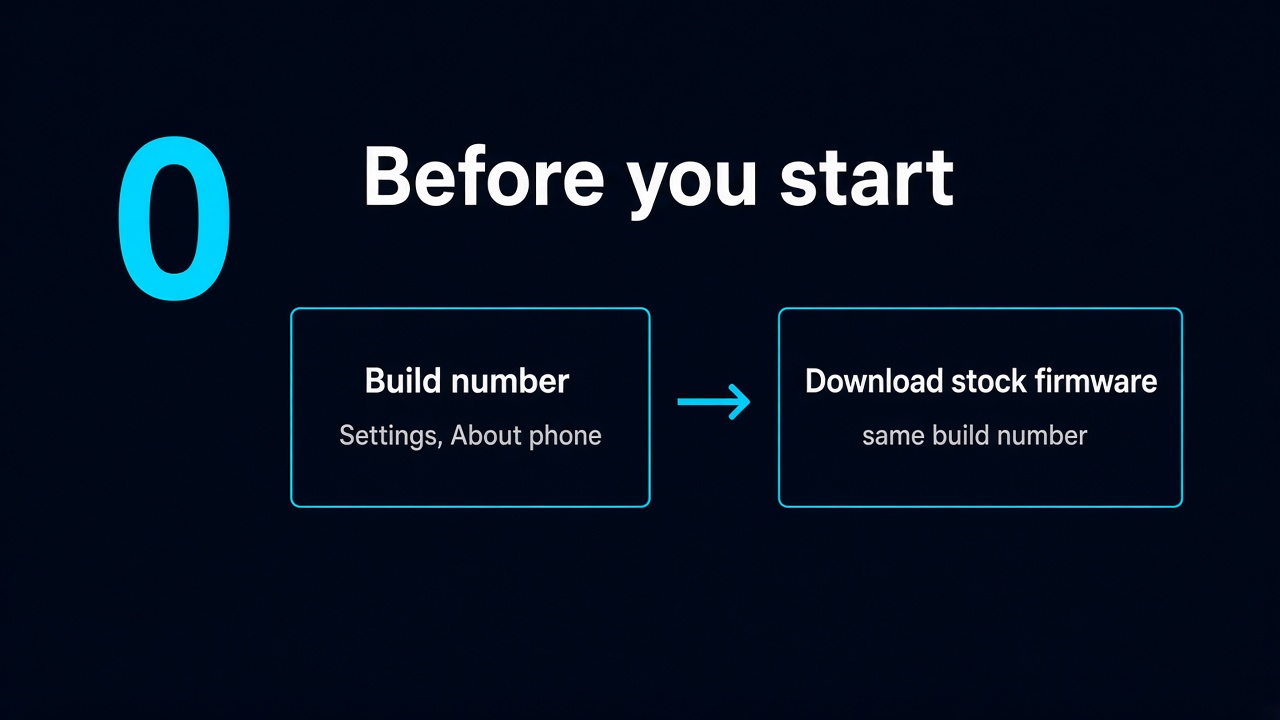
Before any install step, note the firmware already on the phone and download that same stock image.
- On the phone open Settings → About phone → Build number
- Write that build number down. The factory image must be this exact version
- Download that stock firmware from developers.google.com/android/images. Find your Pixel model and the build number you just wrote down
- Create a full backup of your data — bootloader unlock wipes the device
- Charge the phone to at least 70%
- Download platform-tools (adb, fastboot, and the helper scripts) from here and extract it to a folder like
C:\adb - Download KernelSU Next Manager from KernelSU-Next releases. The manager version must match the Wild Kernel release you will flash later
- Download the Wild Kernel AnyKernel3 zip from WildKernels releases. Pick the zip that matches your Android version and kernel
- Install the Google USB driver if it is not already installed
- Enable Developer options, USB debugging, and OEM unlock
- Use a known-good USB cable (data cable, not charge-only)
Important: Unlocking the bootloader erases all data and may affect warranty status. Proceed at your own risk.
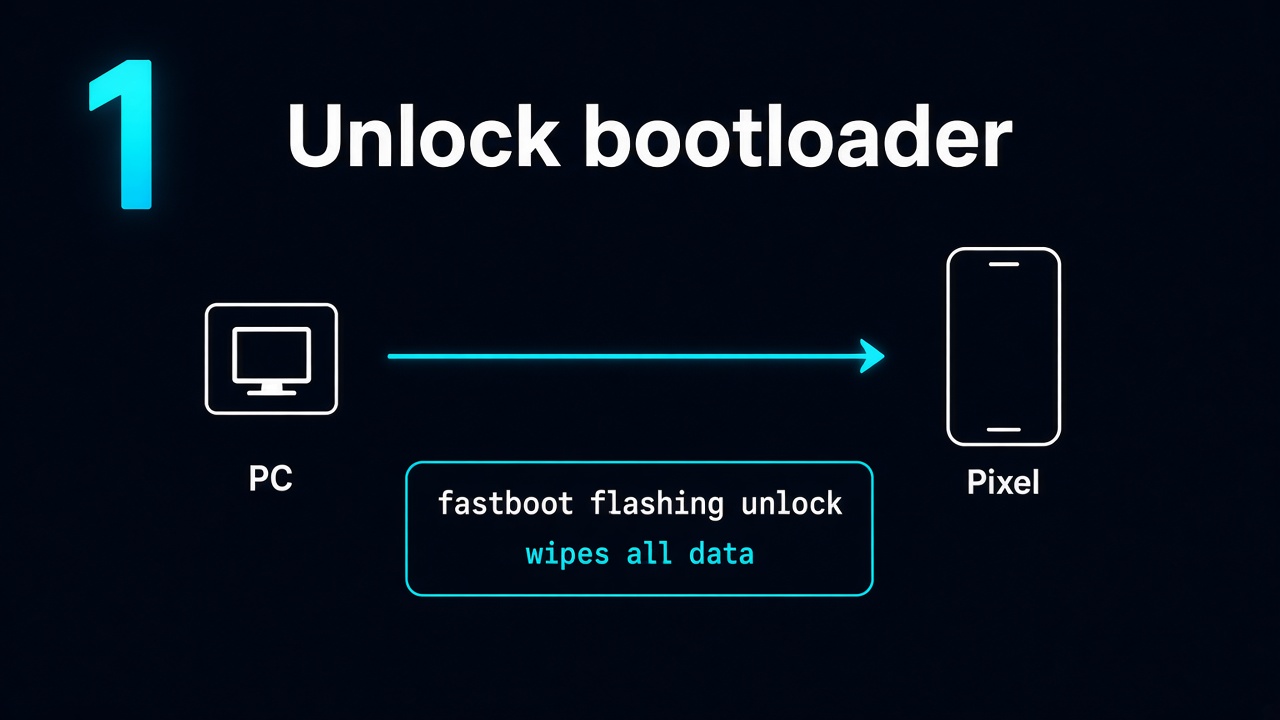
Step 1 — Unlock the Bootloader
- Enable Developer options: Settings → About phone, tap Build number 7 times
- In Settings → System → Developer options, enable OEM unlocking and USB debugging (the device must be connected to the internet for OEM unlocking to activate)
- Connect the phone to your PC and authorize the USB debugging prompt
- Run the
Unlock_bootloader.batscript from the platform-tools folder, or do it manually:
adb reboot bootloader
fastboot devices
fastboot flashing unlock
The script asks you to choose the unlock method: 1 for fastboot flashing unlock (Pixel 6 and newer) or 2 for fastboot oem unlock (older devices).
Note: Confirm the unlock on the phone using the volume and power keys. The phone reboots and performs a factory reset. Complete initial setup again before continuing.
Step 2 — Install KernelSU Next Manager
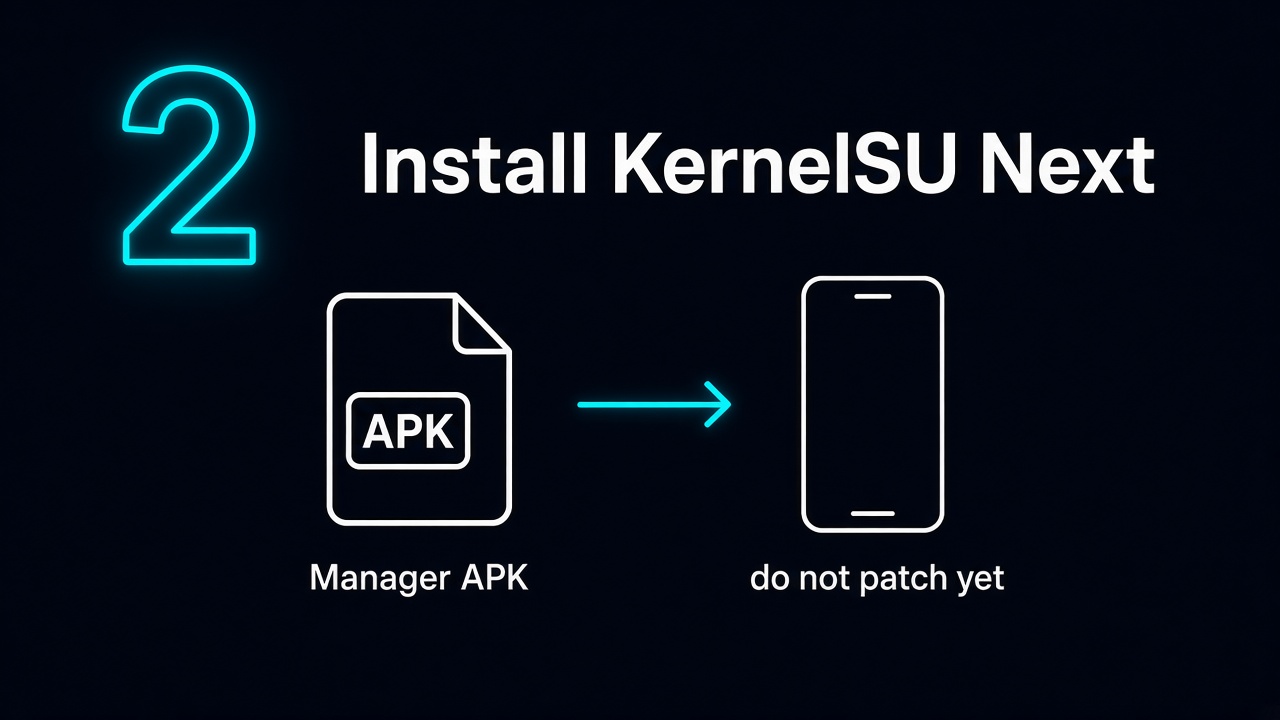
- Install the KernelSU Next Manager APK on the phone
- Do not patch or flash anything yet
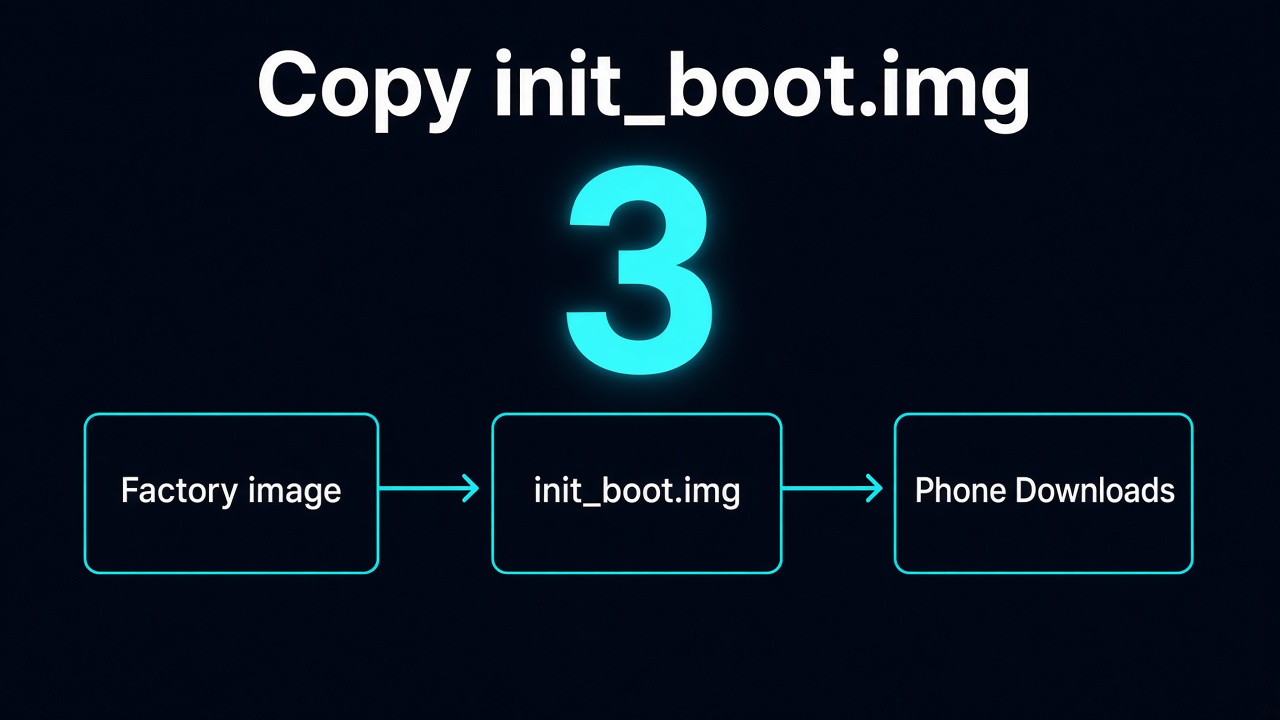
Step 3 — Copy stock init_boot.img
- Open the factory image you already downloaded for this build number
- Extract
init_boot.imgfrom that archive - Copy
init_boot.imgto the phoneDownloadsfolder - Keep a copy of the original file on the PC
Important: The factory image must match the build currently installed. This init_boot.img is the file you patch, and the copy you flash back if the phone bootloops.
Step 4 — Patch init_boot.img
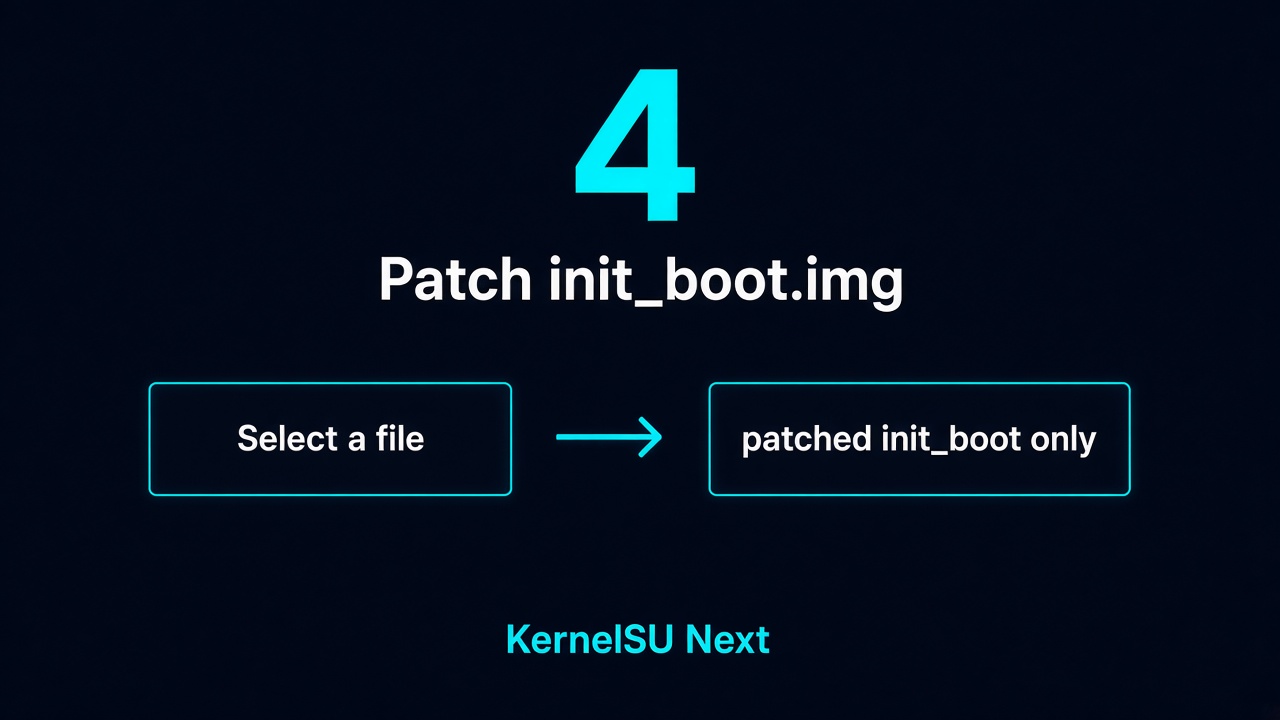
- Open KernelSU Next Manager and tap the install icon
- Choose Select a file. The screen notes that an
init_bootorvendor_bootimage is recommended - Select the stock
init_boot.imgyou copied to the phone - Wait until patching finishes. The manager saves the patched file on the phone, usually in
Downloads - Copy only that patched file back to the platform-tools folder on the PC
Important: Flash the patched file only. Do not flash the original init_boot.img.
Step 5 — Flash the patched file
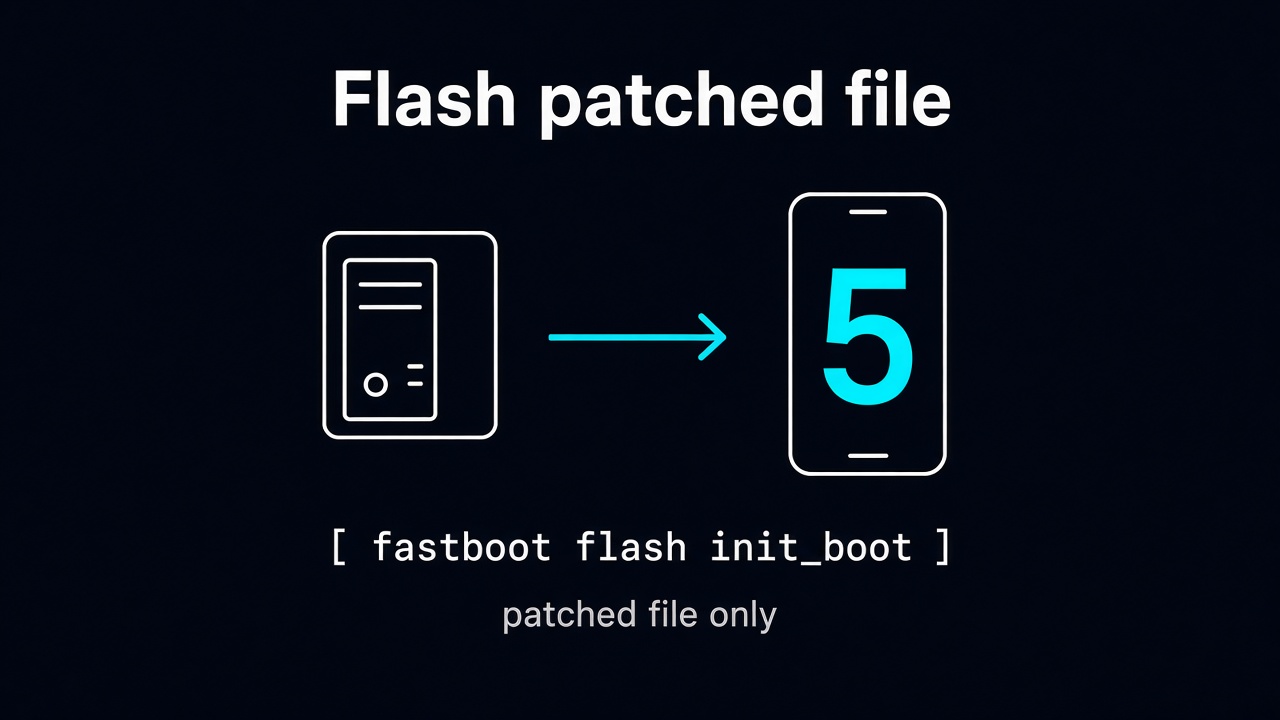
- Reboot to bootloader:
adb reboot bootloader - Verify detection:
fastboot devices - Flash the patched image to
init_boot, using its real filename:
fastboot flash init_boot kernelsu_patched.img
fastboot reboot- After reboot, open KernelSU Next Manager and confirm root works before installing Wild Kernel
Step 6 — Install the Wild Kernel zip
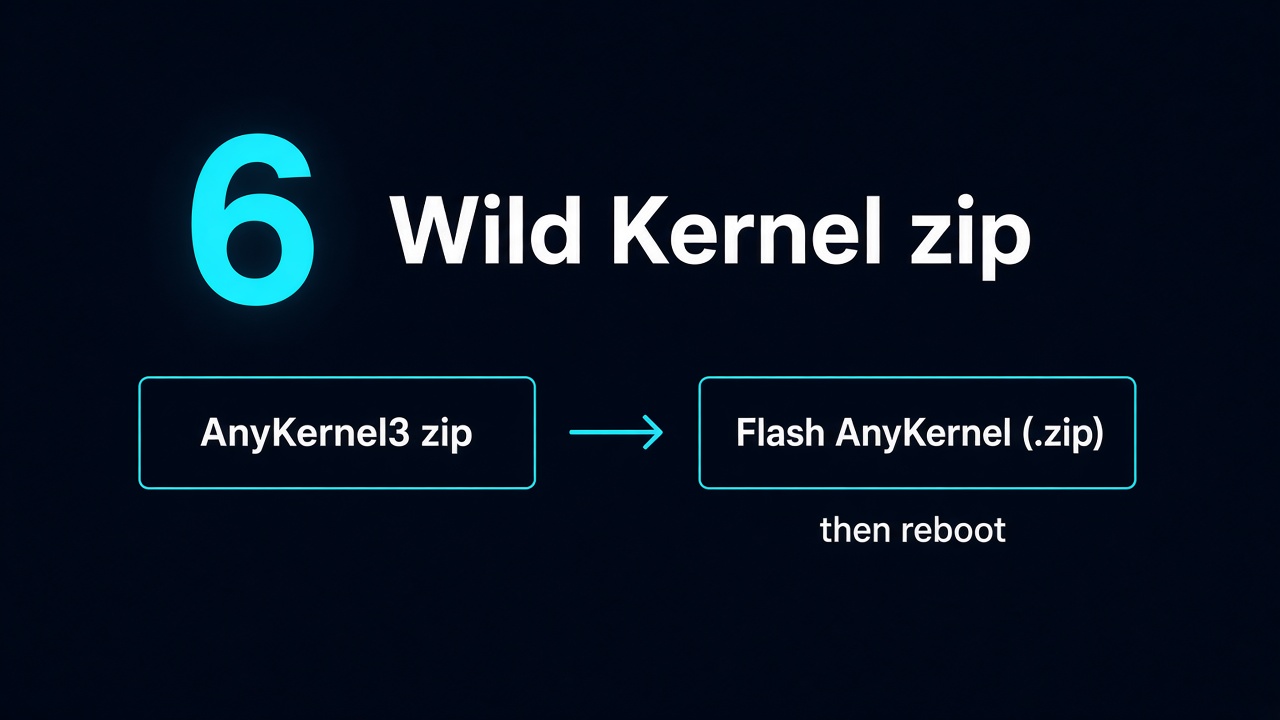
- Download the AnyKernel3 zip from WildKernels releases. Choose the zip that matches your Android version and kernel
- Copy the zip to the phone
- Open KernelSU Next Manager, tap the install icon, and choose Flash AnyKernel (.zip)
- Select the Wild Kernel zip and wait until flashing finishes
- Reboot, then open KernelSU Next Manager and confirm the kernel is installed
What gets flashed
| Step | File | Where | How |
|---|---|---|---|
| KernelSU Next | Patched init_boot.img |
init_boot |
fastboot flash init_boot |
| Wild Kernel | AnyKernel3 zip | KernelSU Next Manager | Flash AnyKernel (.zip) |
Troubleshooting
Device not detected in fastboot
- Install the Google USB driver
- Try a different USB cable or port
- Check Device Manager for unrecognized devices
Wrong build number
- Re-download the factory image matching the exact build on the phone from developers.google.com/android/images
- Extract
init_boot.imgagain and patch that file
Bootloop after flashing
- After the patched image: flash the original
init_boot.imgwithfastboot flash init_boot, then reboot - After the Wild Kernel zip: flash the stock
boot.imgfrom the same factory image, then reboot
Manager shows no root
- Install the KernelSU Next Manager build whose version matches the Wild Kernel release, then reboot
Related pages
Installation guide · Root hide · Play Integrity fix · Device simulation · Software downloads